


The Art of the Lens: Mastering Photoshoot Makeup with Despina Ziliaskopoulou
In the vibrant heart of Athens, where the light of the Attica sky meets the high-definition demands of modern photography, makeup is no longer just about beauty—it is about strategy. Whether you are preparing for a corporate headshot, a fashion editorial, or a branding session, the way your face interacts with a camera lens is fundamentally different from how it looks in a bathroom mirror.
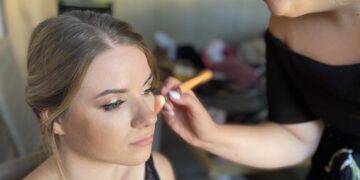
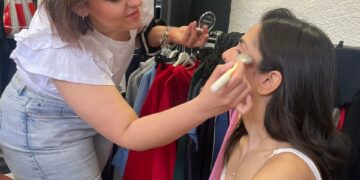
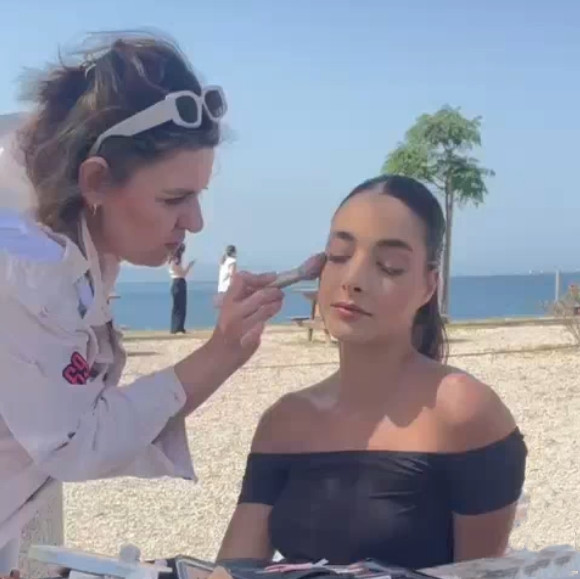
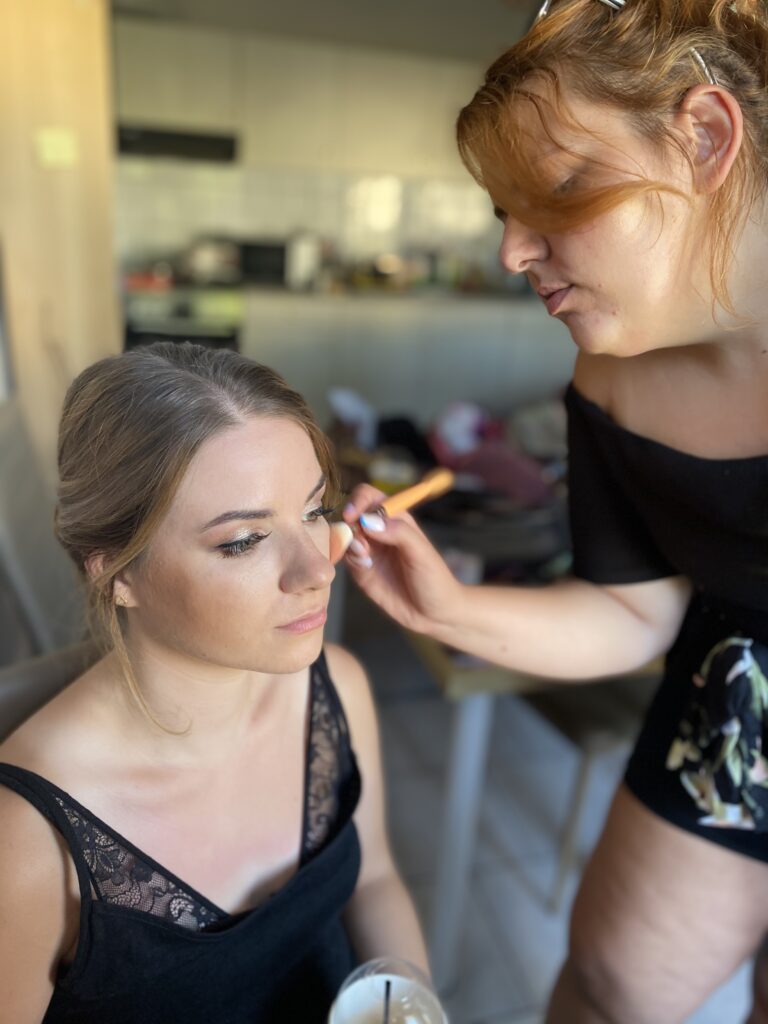
To navigate this complex world of textures, lighting, and high resolution, we turned to expert makeup artist Despina Ziliaskopoulou. Based in Athens, Despina has built a reputation for creating “camera-ready” looks that maintain the integrity of the skin while standing up to the harshest studio strobes.
In this comprehensive guide, we explore the most frequently asked questions about photoshoot makeup and share Despina’s professional secrets for achieving a flawless, photogenic finish.
Why Photoshoot Makeup is a Different Beast
One of the first things clients ask is why they can’t simply wear their everyday makeup to a shoot. “The camera is a thief,” Despina Ziliaskopoulou often explains. “It steals about 30% of the color and definition from your face.”
Photoshoot makeup is specifically engineered to perform under intense lighting and different color temperatures. High-definition (HD) cameras capture every minute detail, meaning the balance between matte and glow must be surgical. While everyday makeup focuses on a natural look to the naked eye, photography makeup focuses on structure. Without strategic contouring and emphasis on the eyes and lips, a face can appear “flat” or washed out once the flash hits.
The “Heavier” Makeup Myth
A common misconception is that photography makeup must be “caked on.” According to Despina, intensity does not mean thickness. The goal is clarity of lines and depth of color, not a mask of product.
A “natural” look for a photoshoot might actually involve more steps than a night-out look, but the products are applied in thin, strategic layers. The focus is on the roots of the lashes, the shape of the brows, and the perimeter of the face to ensure you don’t disappear into the background.
Skin Preparation: The Foundation of Success
“Preparation is half the result,” says Despina. If the canvas is dry or congested, no amount of high-end foundation can save the shot.
- The 3-Day Rule: Start gentle exfoliation and intense hydration 1 to 3 days before the shoot.
- Avoid Experiments: Never try a new chemical peel or a potent active ingredient (like high-strength Retinol) right before a session. This can lead to redness or peeling that HD cameras will highlight.
- The Day Of: Cleanse thoroughly and use a fast-absorbing moisturizer. Wait a few minutes for it to settle before applying primer.
Mastering the Base: Primers and Foundations
In the studio, your T-zone is your greatest enemy. Lighting often translates natural oils into “sweat” on camera. Despina Ziliaskopoulou recommends a targeted approach to priming:
- For Oily Skin: An oil-balancing primer only on the T-zone.
- For Texture/Pores: A “soft focus” smoothing primer on the cheeks and chin.
- For Dryness: A hydrating layer that prevents the foundation from “cracking.”
When it comes to foundation, the safest bet for most concepts is a satin finish. While “luminous” looks are trendy, they can catch reflections and look greasy under strobes. A satin base allows the artist to add “strategic glow” only to the high points of the face.
The Dreaded “Flashback”
We have all seen photos where a celebrity’s under-eye area looks like it was dipped in white flour. This is flashback. It happens when ingredients in SPF (like Zinc Oxide) or certain silica-based powders reflect the camera flash.
To avoid this, Despina suggests avoiding high SPF products during indoor shoots and using professional-grade powders specifically tested for photography. “Always do a test shot with a flash before starting the actual session,” she advises.
Sculpting the Face: Contour vs. Bronzer
Many people use these terms interchangeably, but in front of a lens, they serve different masters.
- Contour: Creates shadow and bone structure. It should be matte and cool-toned.
- Bronzer: Adds warmth and dimension.
In a professional shoot, both are usually used. The contour sculpts the cheekbones and jawline, while the bronzer ensures the skin looks “alive” and sun-kissed. Blending is paramount; the camera will pick up any “muddy” patches or harsh unblended lines.
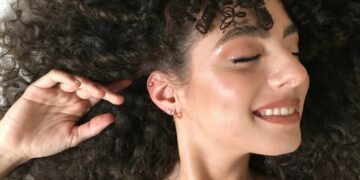
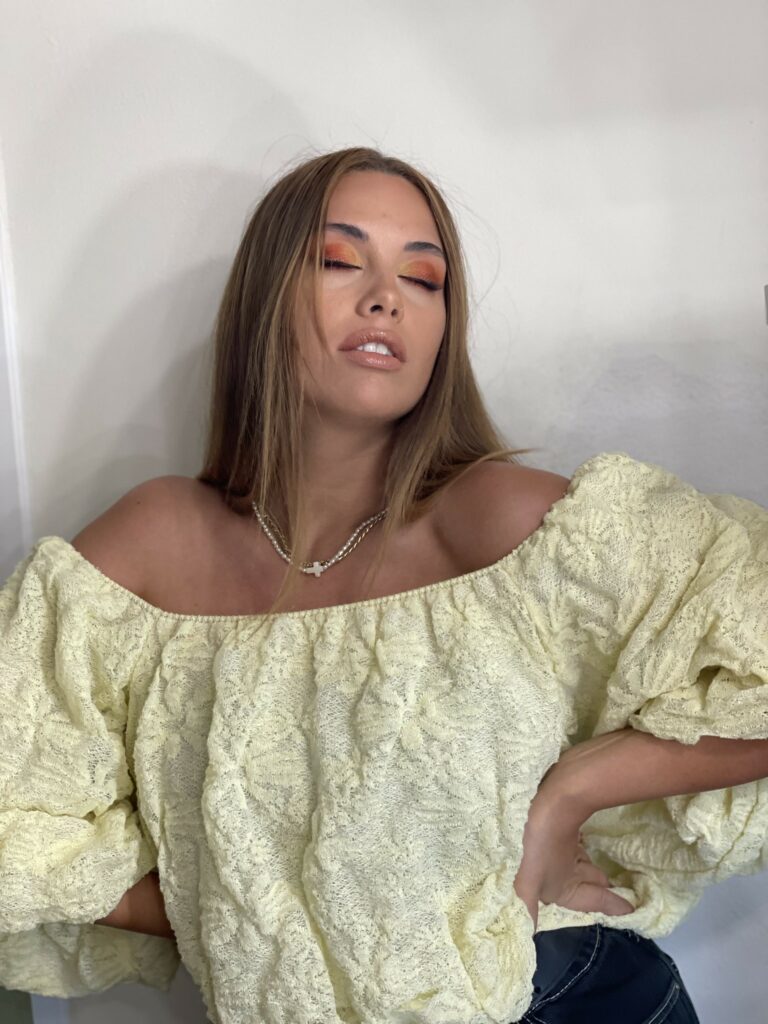
Eyes, Brows, and Lashes
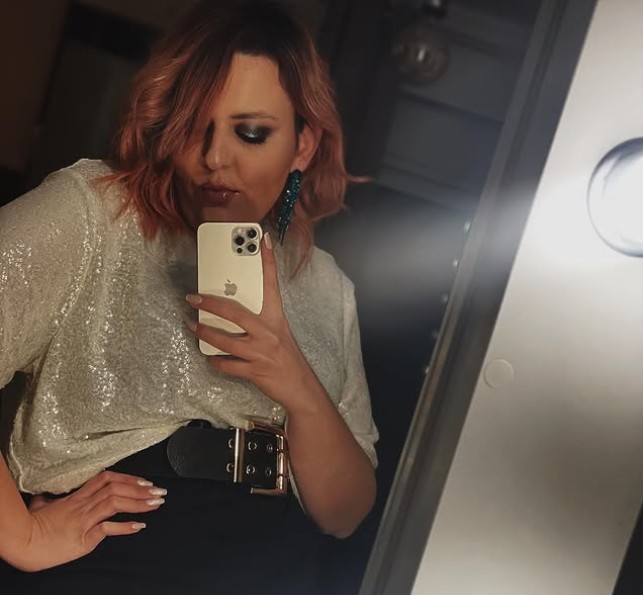
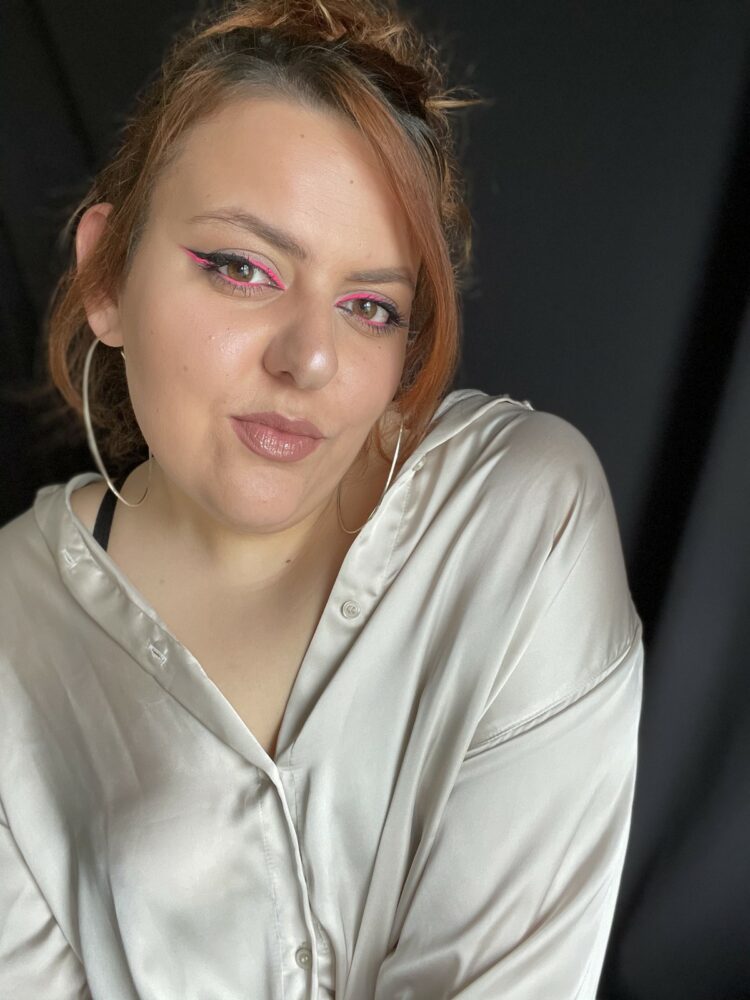
The eyes are the focal point of any portrait. For the best results, Despina Ziliaskopoulou recommends a “neutral smoky” or a “soft cut crease.” These styles provide depth without closing off the eye.
- Brows: Brows “hold” the face together. They should be well-shaped and filled in to match the hair root—never too dark or too “boxy.” Despina suggests professional brow grooming a few days prior to the shoot.
- Lashes: Even if you want a natural look, false lashes (especially individual clusters) provide a finished look and make the eyes pop.
- Lash Lifts: A great idea, provided they are done a week in advance to ensure any irritation has subsided.
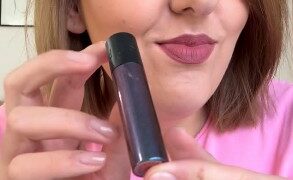
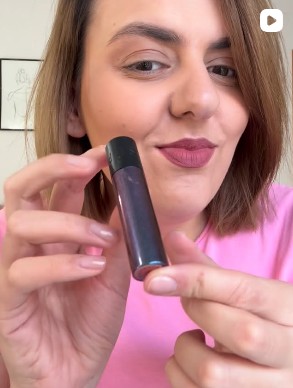
Lips: Matte, Gloss, or Satin?
Lip prep is often ignored until the last minute. Dry, peeling lips are impossible to hide in close-ups. For longevity and clean lines, matte lipsticks are excellent, but they can be unforgiving on dry lips. A satin lipstick or a matte base with a touch of gloss in the center is often the most photogenic choice, providing volume without the messiness of a full-gloss lip.
Working with the Photographer
The relationship between the makeup artist and the photographer is vital. The lighting—whether it’s harsh midday sun, soft window light, or studio strobes—determines the makeup’s intensity.
Despina Ziliaskopoulou emphasizes the importance of knowing the “brief” beforehand. Are these close-up portraits or full-body shots? In HD photography, “less is more” regarding texture, but “more is more” regarding precision.
Final Pro-Tips for Your Shoot
- Wear the Right Clothes: During your makeup application, wear a button-down shirt or a wide-neck top so you don’t ruin your face when changing into your shoot wardrobe.
- The Touch-up Kit: Always have blotting papers and your lip color on hand. If you start to shine, blot first, then apply a tiny amount of powder. Adding powder on top of oil creates a “paste” that looks heavy on camera.
- Stay Hydrated: Drink plenty of water and avoid salty foods the night before to prevent under-eye puffiness.
Conclusion
Photoshoot makeup is a collaborative art form. By understanding how light and technology interact with your features, and by trusting an expert like Despina Ziliaskopoulou, you can ensure that your final images reflect the best version of yourself. Remember, the goal isn’t to look like someone else; it’s to ensure that your natural beauty translates perfectly through the lens.
Whether you are in Athens for a professional branding session or a personal portrait, following these guidelines will ensure you step in front of the camera with absolute confidence.
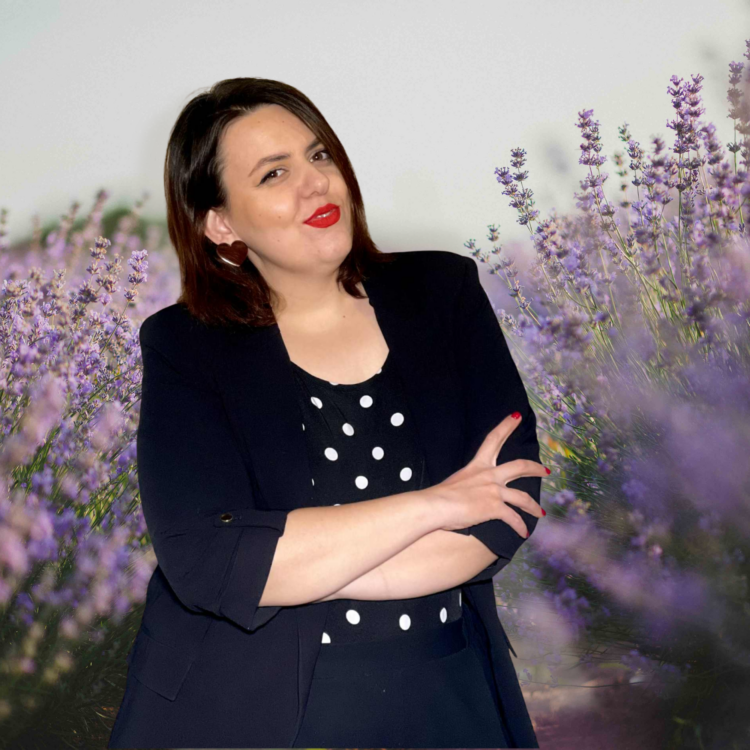
About Despina Ziliaskopoulou
Professional Makeup Artist in Greece
Despina Ziliaskopoulou is a professional makeup artist based in Athens, offering refined, on-location beauty services across Greece and the Greek islands. Her work sits at the intersection of artistry, technical precision and visual storytelling, serving both private clients and professional productions.
With a strong focus on camera-ready beauty, Despina specializes in makeup that translates flawlessly across digital platforms, live performances and high-definition productions. From bridal and wedding party makeup to editorial, film and media projects, every look is designed to enhance natural features while respecting the unique demands of each medium.
